Tuesday, December 29, 2015

Sunflower shoes

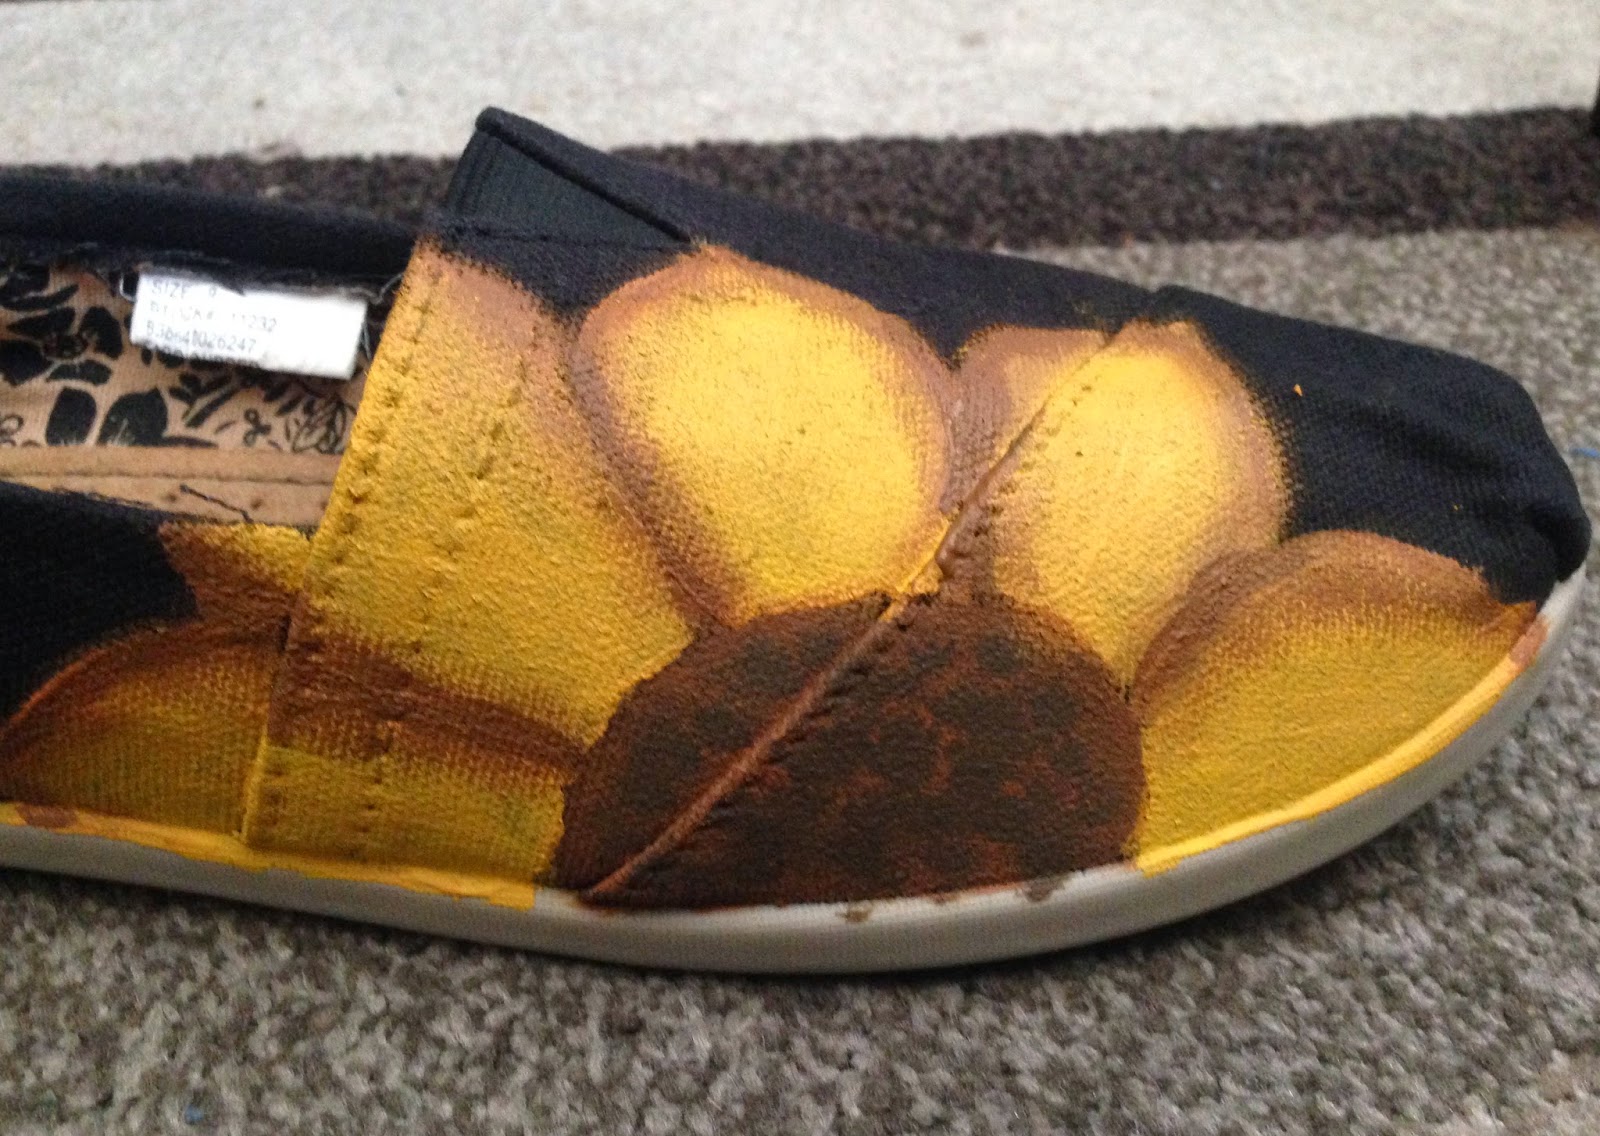
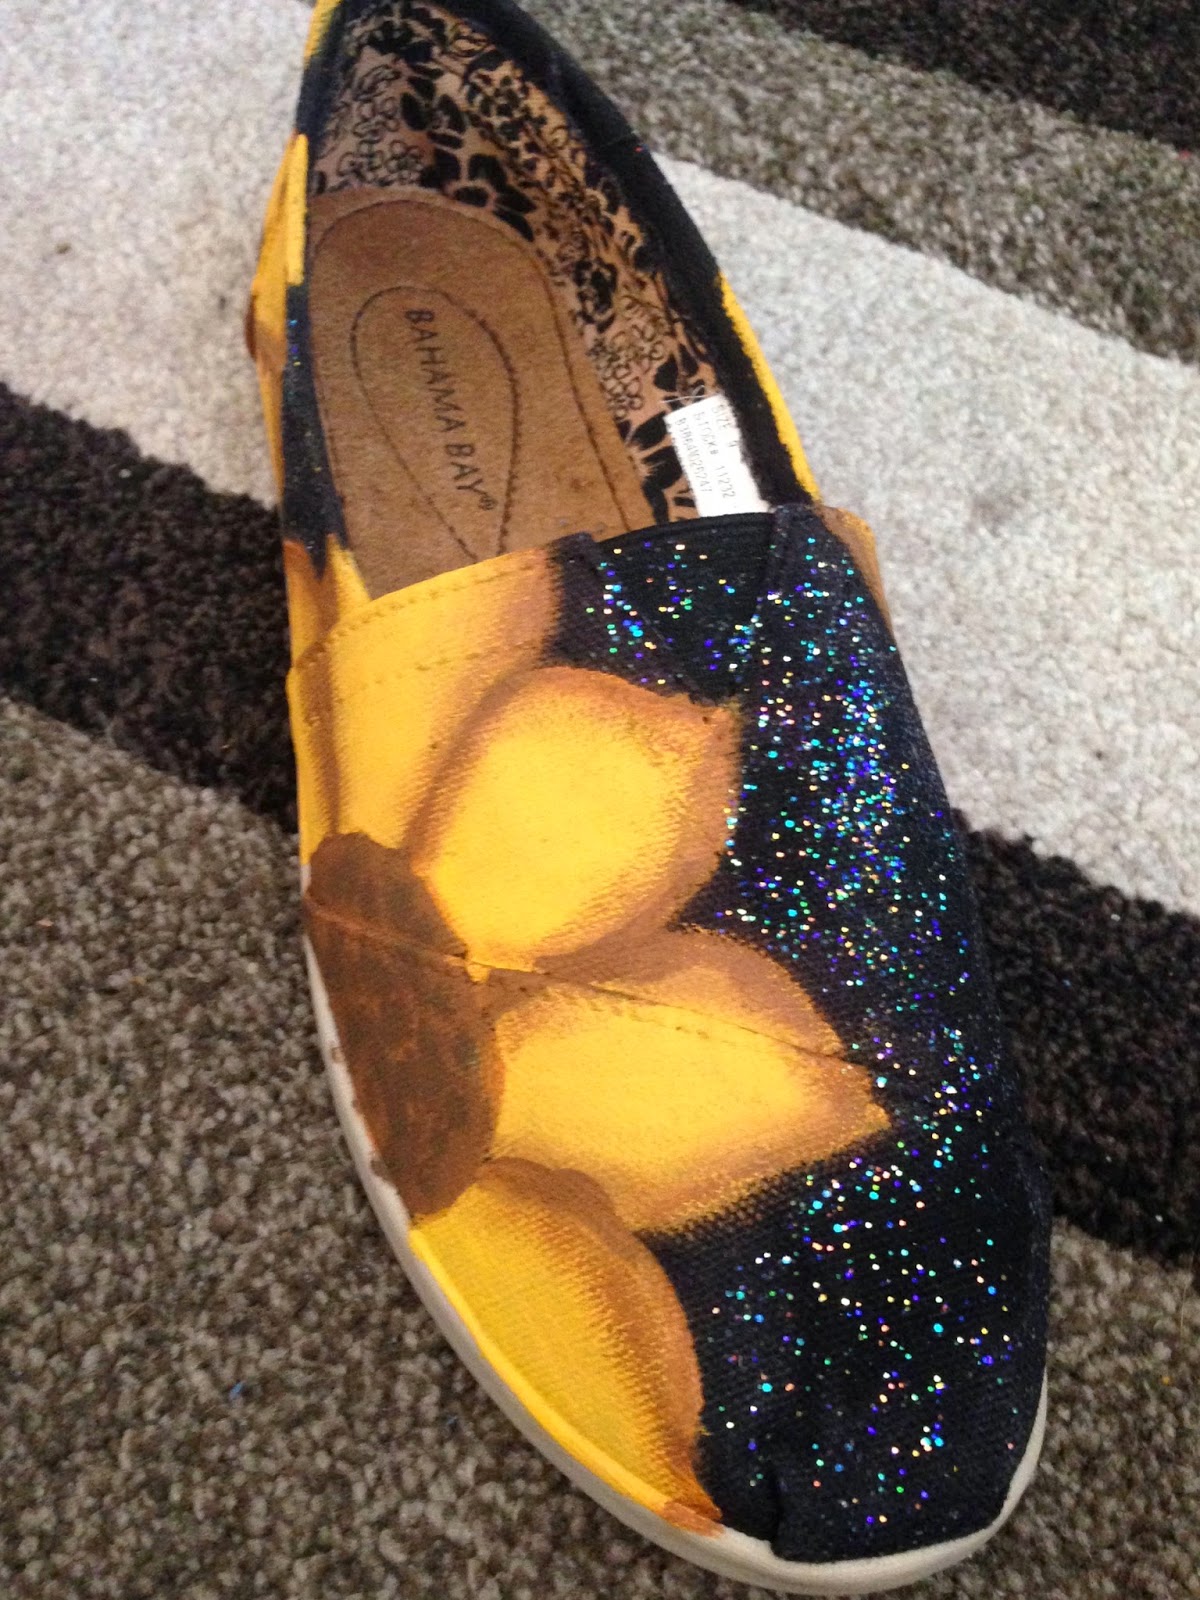
My friend saw these shoes on Pinterest and fell in love so I made them for her Birthday.

Artsy Fartsy Needs: Sparkles, Yellow, Brown and maybe a little Black paint, along with paint brushes and of course the Shoes. 


The best thing about painting is that it's really easy to make different colors!
I mixed light brown with just a drop of black to make a better color of brown for the sunflowers.


I first made the 3 half circles on the shoes for the middle part of the sunflower, 
like so.


Then I painted the yellow for the petals.
I painted every other petal so I could know where the petals start and stop.


I took some light brown to outlines the petals.
Then I used some more of the brown, but only a little, to shade in the petals. 


Then repeated that same process on all the flowers.


Then I added some sparkle paint on the shoes to give it some more flair. 


Monday, November 16, 2015

A Whole Lotta Nothing

This is a quick and easy present to do for those people who always say, 
"I don't need anything for ____(My birthday/Christmas/Etc.)" 

Artsy Fartsy Needs: Ziploc bag, paper, staple or tape and a pen


Fold the paper in half.
Write "A whole lotta NOTHING".
Then take your bag and fill it with air.
After that staple or tape the paper to the bag.
TADA! You got a whole lotta NOTHING! 

Thursday, October 8, 2015

The Last DIY Cup

 My last cup for my best friend since I was practically born!

Artsy Fartsy Needs: see kitty cup for instructions


"It seems they had always been & would always be friends."


"Time could change much but not that.
-Winnie the Pooh"


And then this was all my cups in the oven getting ready for the heat!


Friday, September 25, 2015

The Mountains and Sunshine DIY Cups


Artsy Fartsy Needs: see Kitty Cup for instructions

Since I go snowboarding with my friend and I know how much he loves the mountains 
I thought I would make his cup like that. 
This is why I picked "the mountains are calling" for him.


My mom actually helped me figure out how to set this up!
We sketched it out a lot on a piece of paper. 
Deciding how to do the mountains and where to put the words.
I'd say we made a pretty good team!


Then these cups are the matching cups I made for my boyfriend and I.
I made them a little different yet the same.

Started out with the sun, then the clouds, filled them in and then wrote the words.

All 3 of these cups are easy shapes to do if you would like to do them also! 


Tuesday, August 18, 2015

DIY Cups for my Parents

These two cups are the ones I made for my parents!

Artsy Fartsy Needs: See kitty cup for instructions


Superman is an inside joke with me and my dad,
so I picked out a superhero quote to go along with my superman sign.
Practicing the sign before you do it is key.
It's a S with a frame over it but it might be tricky.


This one is for my mom 


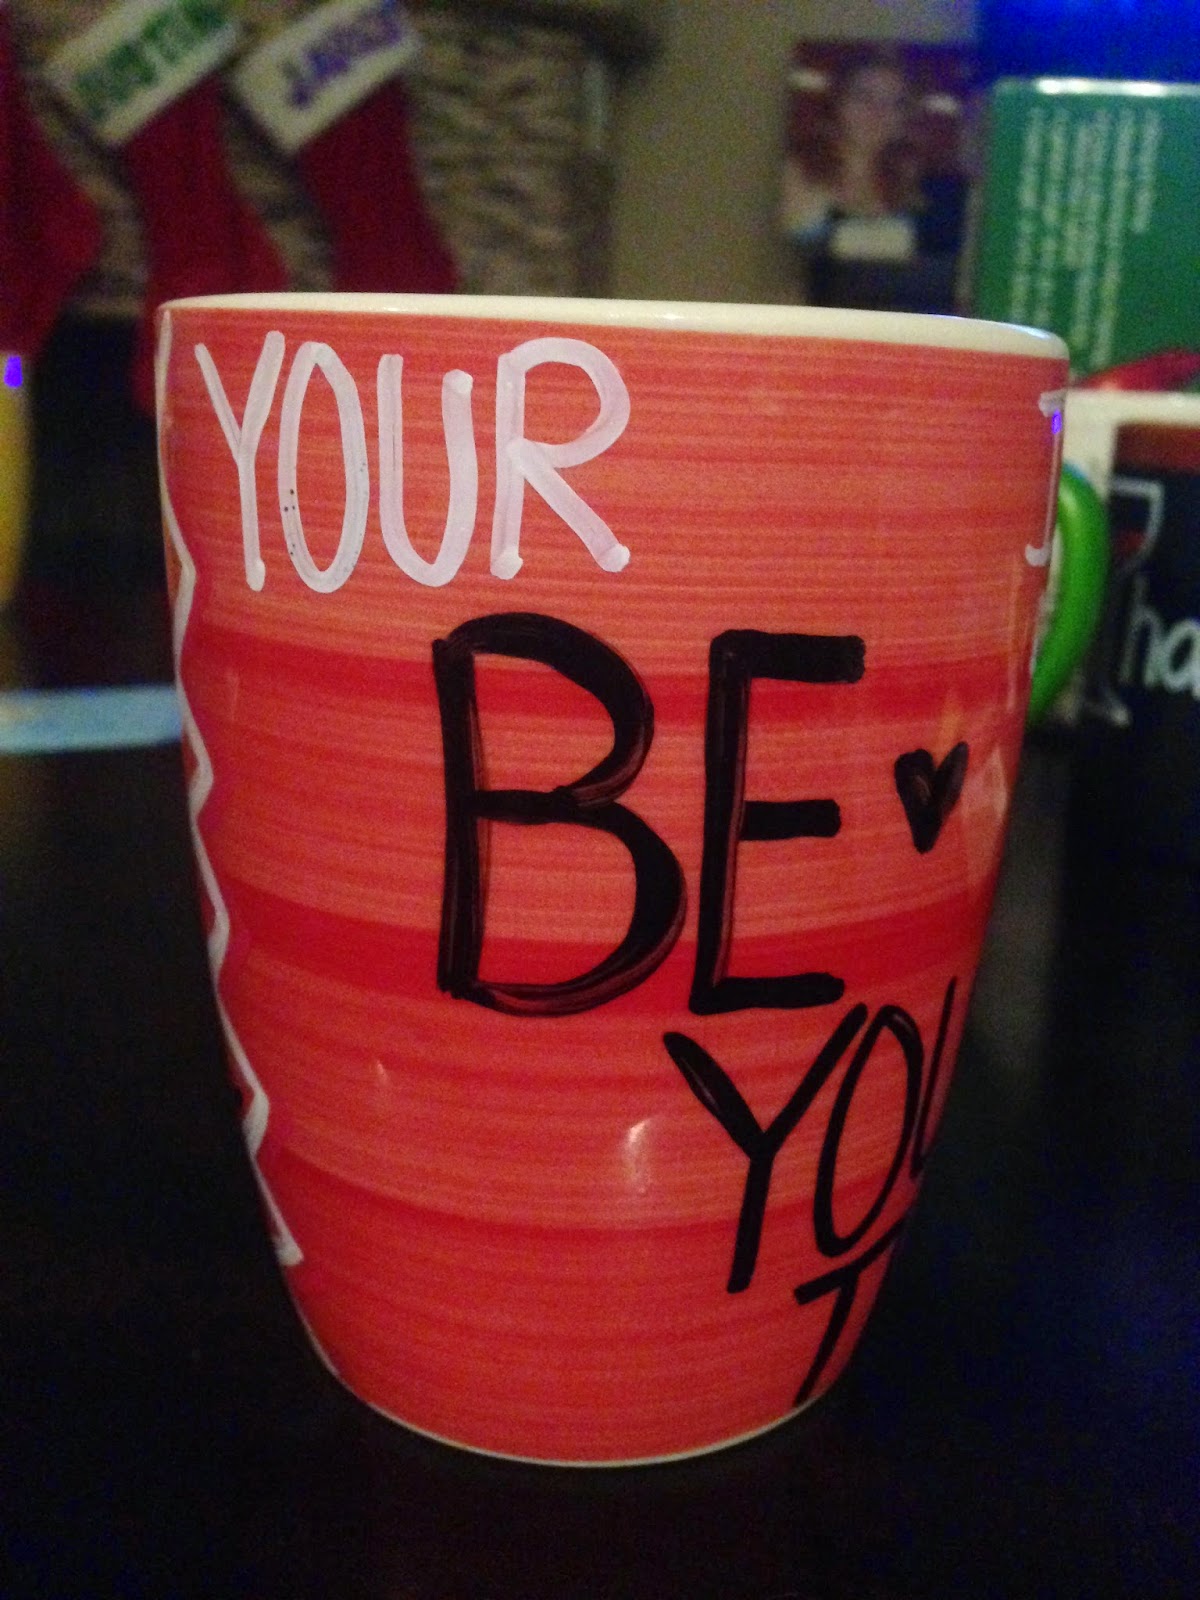
"You're Be-You-Tiful Inside And Out"


Quotes are the easiest to do if you aren't very artistic.
Along with that they can be very meaningful too!

Wednesday, July 29, 2015

DIY Cups For My Drinking Friends

These are two of the Christmas cups for my friends who like to drink a lot!

In order to find the perfect quote I surfed the Internet for a long time 
to see which one fits my friends the most. 

Artsy Fartsy Needs: see Kitty cup for all instructions


(Yes I'm aware that I spelt coffee wrong I had to put it back in the oven again)


If I was to do the cup again I would just make sure the red was dry before I put the white line through it, other than that i was pretty happy about them.


Friday, June 5, 2015

American Horror Story DIY Cup


My friend and I started watching AHS on Netflix and then when it was on TV 
so I thought it was perfect to make his cup all AHS.

Artsy Fartsy Needs: see Kitty Cup instructions


We lived in the Murder House.


We escaped the Asylum. We protected the Coven.


And we will attend the Freak Show.

All in AHS writing :) 
I thought it looked better going around the cup than one side and another.


Monday, May 18, 2015

Stork and Elephant DIY Cup

These ones I admit are a bit tricky. 
When I thought of doing an elephant and a stork I wanted to give up.
I just search the Internet until I found cartoons that were easy enough for me to draw 
and that's all you would have to do as well!
Remember when you're looking for a cartoon pick a simple one!

Artsy Fartsy Needs: see Kitty cup for all instructions


Since my friend is pregnant I pick a stork to put on her cup.

That's the stork that I drew as a practice round, 
after a few times of drawing it was perfect to put on the put!


Then on the other side I wrote a cute quote for her too!


As for my other friend, 
she LOVES elephants so I knew I had to draw one!
I practiced just like I did with the stork 
and when it was perfect I put in on the cup like so. 


After the white was all dry I outlined it in black, 
outlining it in black last also helps if you messed up in the white part.


And then wrote a quote I found on Pinterest! 


Nothing is impossible with practice!!
And a long time for looking up things on the Internet. 


Monday, April 20, 2015

Kitty Cup

This Christmas I decided to make everyone personalized cups 
so I went to the locate Dollar Store and bought 12 cups for 12 dollars!

Sure it might be a cheap cup but that's not the point, 
the point of this is to create an amazing gift for your family and friends.

Artsy Fartsy Needs: Cups, Sharpie oil based paint pen and an oven. 


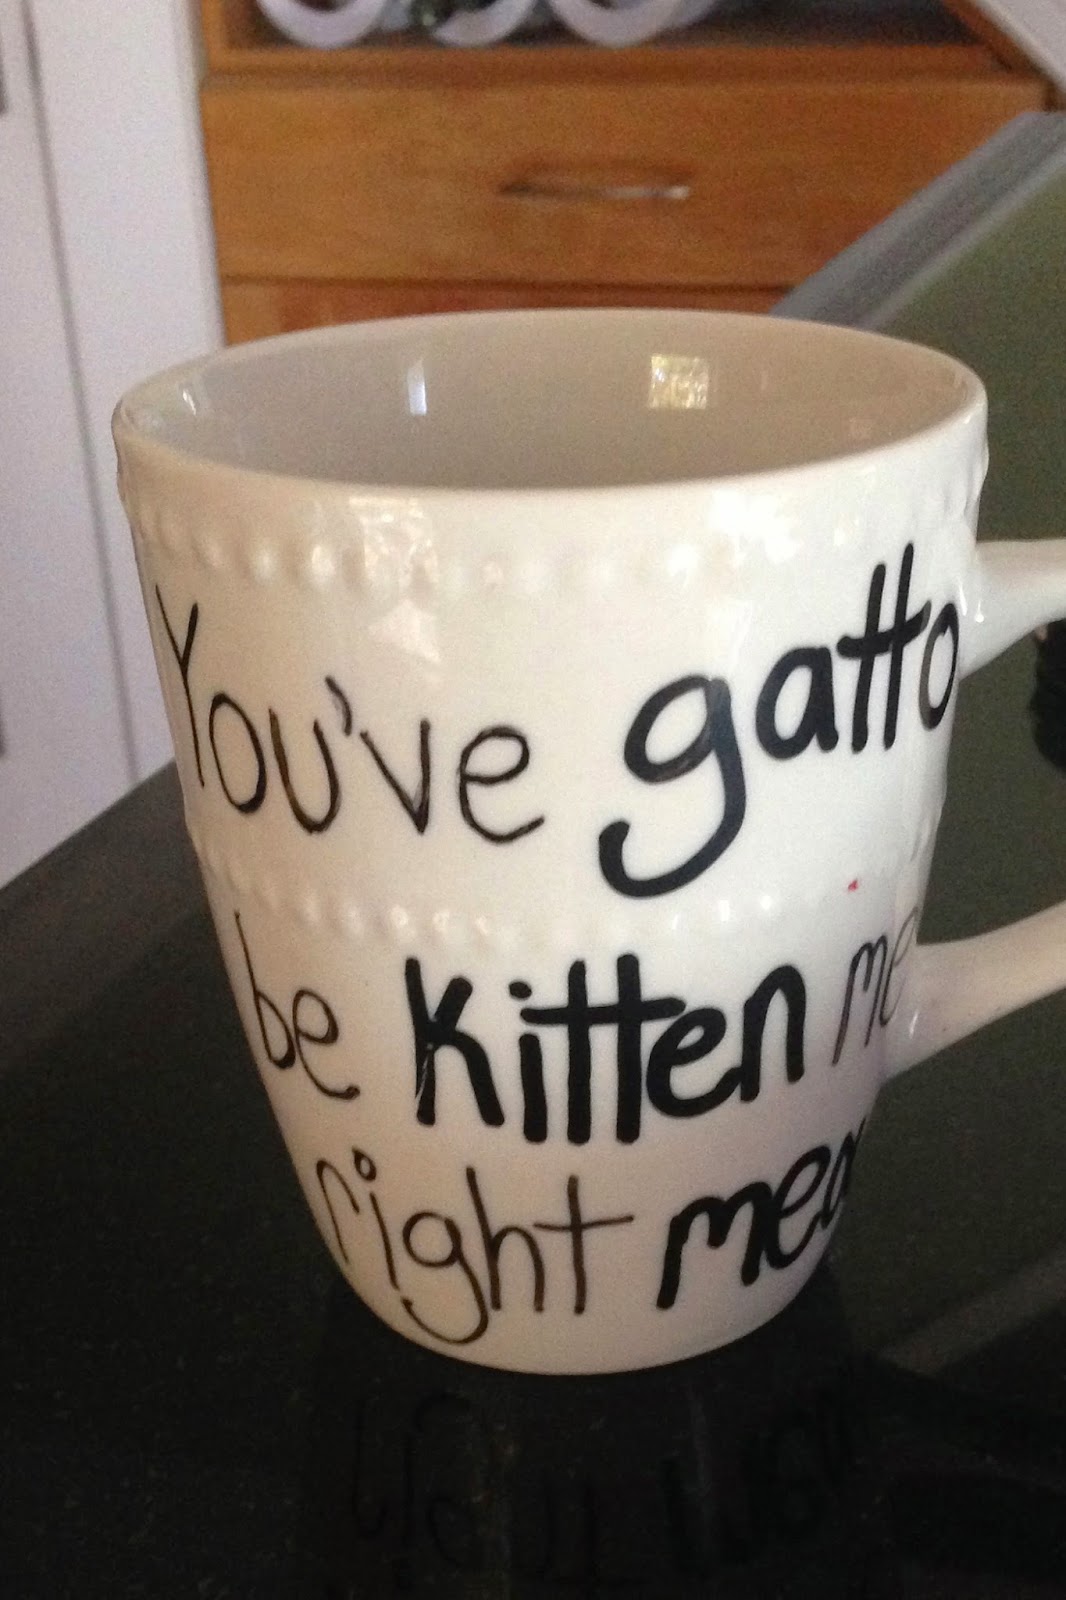
So this one is for my friend who likes cat and puns!

You start by doing the pink triangle nose and then outlining everything in black.
My best tip is to always practice before you do the final product. 


After the kitty face is made plan out how your going to write on the cup and practice it like so.Incase y'all didn't know gatto is cat in Spanish.  

Once you are done wait for it to dry overnight and then with all the rest, place it in the oven.
After you place it in the oven THEN that is when you start the oven.
(If you look online many people have done different temperatures but I did 400°) 
When it starts to be at 400° that's when I start the timer for 30 minutes. 
When the 30 minutes are done I kept all the cups in the over for a few hours just to be safe.
You don't want to open the oven immediately because the air could crack the cup.